
Body Clipping a Horse: What You Need to Know and How to Do It Right
Clipping your horse can boost comfort health and performance but it takes more than just plugging in the clippers From prep to patterns to aftercare here’s how to clip with confidence and keep your horse looking and feeling their best all winter long

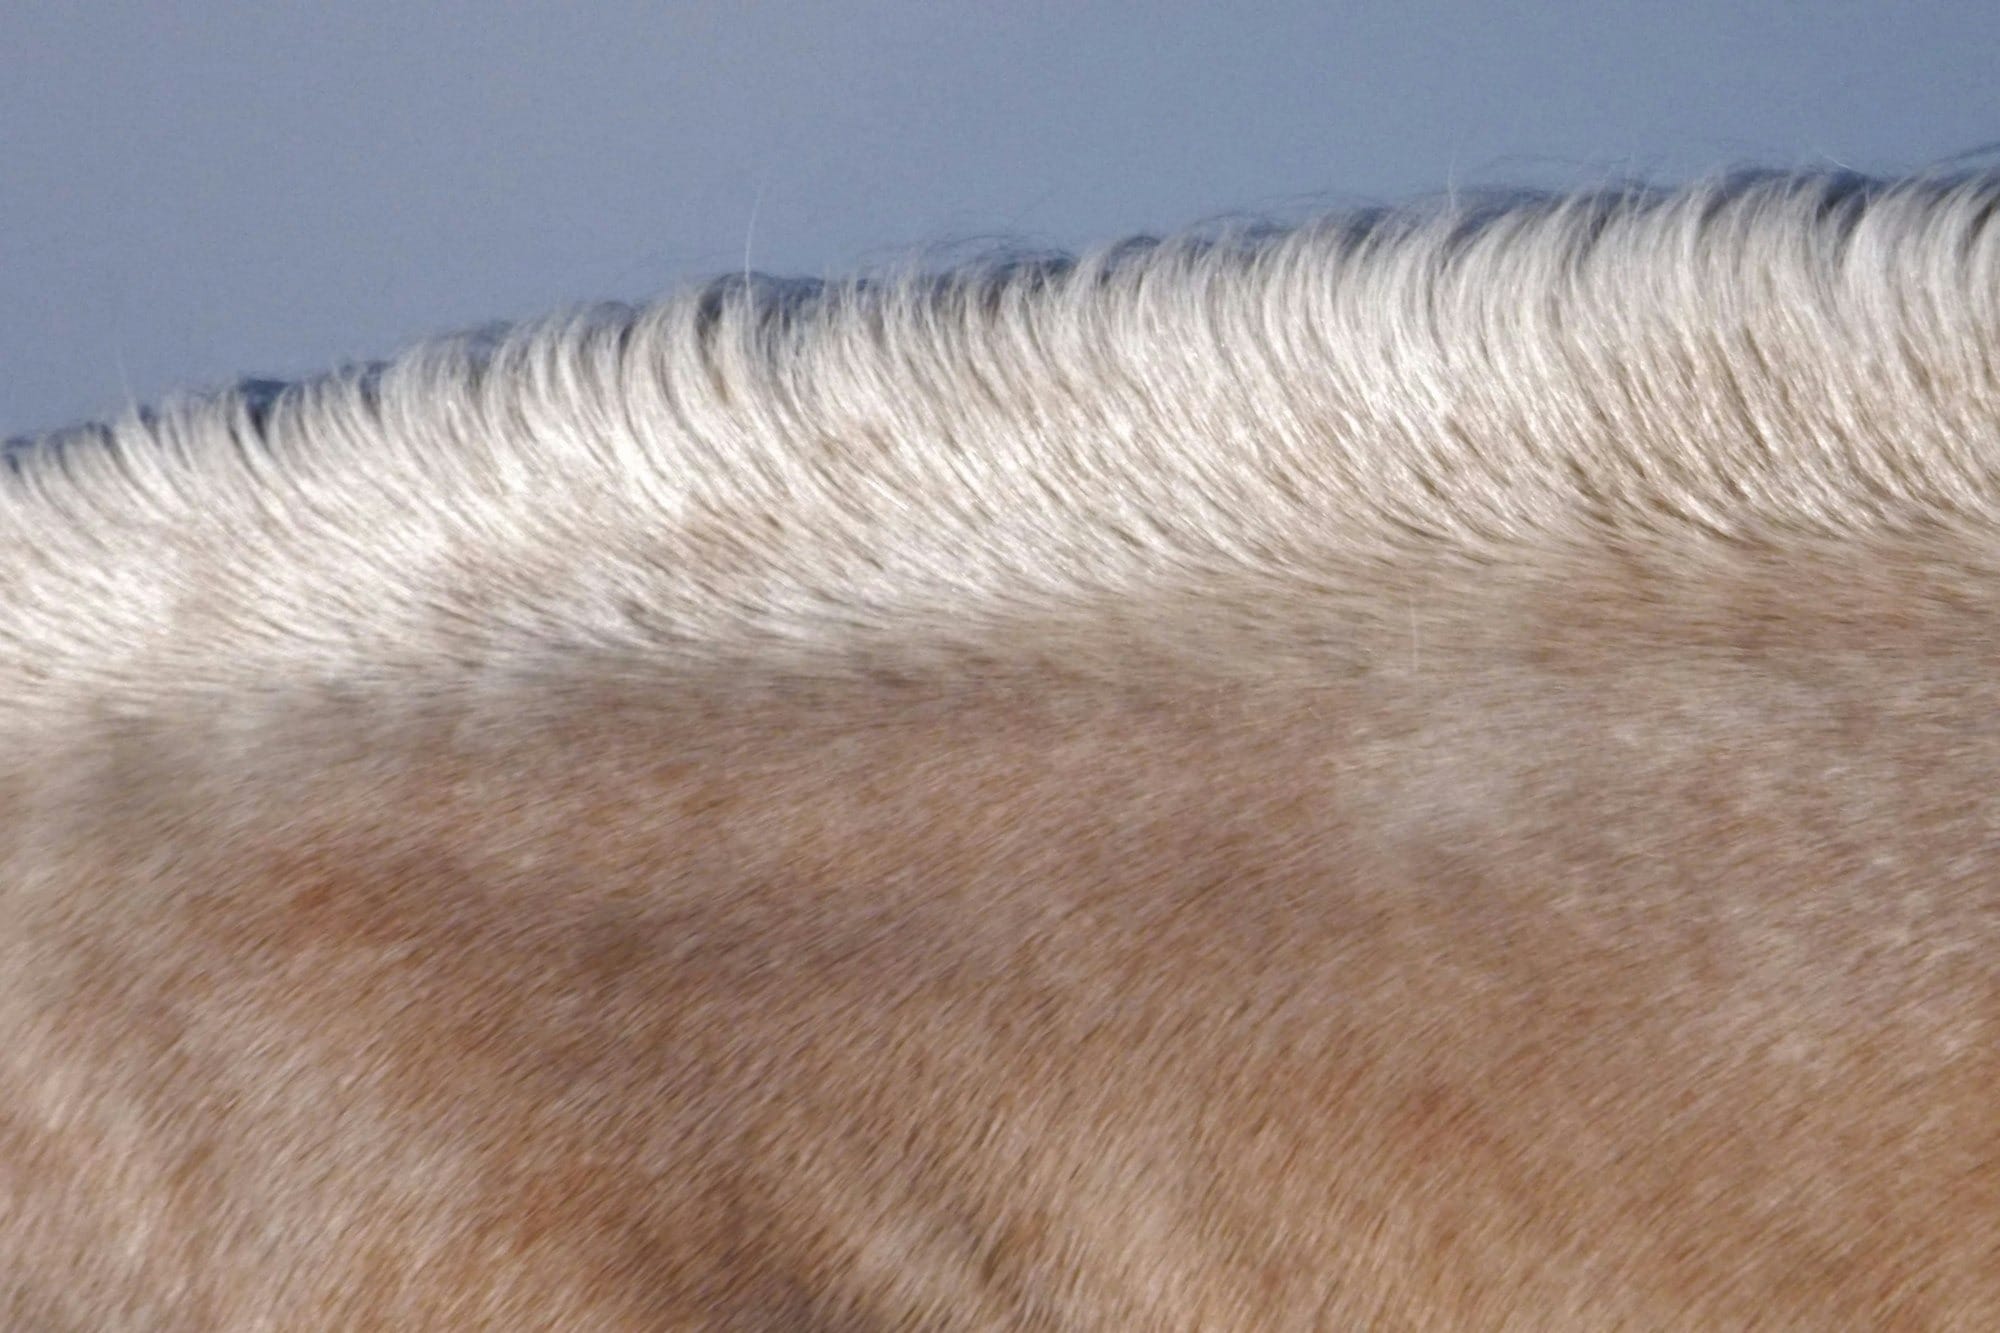
Body clipping is an essential skill for many horse owners. Whether you're preparing for winter work, showing in colder months, or managing a horse with a thick coat or metabolic condition, clipping can make a huge difference in your horse’s comfort, health, and performance. But it’s not just about looks, it’s about thoughtful preparation, the right tools, and smart aftercare.
Why Clip Your Horse?
When deciding whether to clip depends on several factors: your horse’s workload, living situation, and even health conditions.
- If your horse is working regularly and sweating, clipping helps remove insulating hair so he can cool out faster.
- Horses with metabolic or endocrine issues (like Cushing’s/PPID) may grow excessive hair or struggle with temperature regulation, making clipping especially beneficial.
- On the flip side, if your horse stays outside constantly without shelter or isn’t blanketed properly, clipping may actually do more harm than good.
Choosing a Clipping Pattern
There are several common clipping styles, each suited to different needs and horse workloads. SmartPak outlines a few:
- Trace Clip: Removes hair in the most sweat-prone areas like the underside of the neck and chest. Ideal for horses turned out often but ridden moderately.
- Blanket Clip: Leaves hair on the back (blanket area) and legs, but clips the belly, chest, and neck. Good for horses that work and are blanketed.
- Full Body Clip: Clips the entire body, face, and legs. Best for horses in heavy winter work, in stalls, or under blankets most of the time.
Before clipping, make sure you’re prepared to provide appropriate blanketing since clipping removes your horse’s natural insulation.
Tools and Setup
Body clipping is only as good as your setup and equipment. Here’s what you need to do it well:
- Choose the Right ClippersRemember that not all clippers are built equally, you’ll want large, powerful body clippers for winter coats. Then use smaller trimmers for delicate areas like the face, ears, and legs.
- Pick the Right Blade SmartPak recommends blade sizes such as the #10 or T-84 for body clipping. Shorter blades (e.g., #15 or #30) are better for sensitive or detailed areas.
- Lubrication and Cooling Keep clipper blades oiled and cool. Oiling every 10–15 minutes keeps blades running smoothly and prevents overheating. Have coolant or extra blades on hand so you can rotate when one set heats up.
- Workspace Setup
- Clip in a calm, well-lit, safe area.
- Have a curry comb, body brush, blade-oil, coolant, a small brush to clear hair from blades, and spare blades ready.
- Use chalk to outline patterns (like with a trace or blanket clip) to keep both sides even.
Preparing Your Horse
It is crucial to give your horse a full bath the day before clipping whenever possible, since dirt and dander trapped under the coat can quickly dull blades and slow the entire process. Just make sure your horse is completely dry before you begin, wet hair won’t clip cleanly and can easily clog or damage your clippers. If your horse is anxious about the noise or vibration, take a little time to desensitize him by running the clippers while they’re off or on the lowest speed, allowing him to get comfortable with the sound and sensation before you start clipping for real.
Clipping Technique
Once everything is ready, here’s how to clip effectively:
- Start Slowly Begin where your horse is most comfortable — usually at the shoulder. This helps him adjust to the feel and vibration before moving to more sensitive or tricky areas.
- Clip Against the Hair GrowthIt is recommended to clip against the direction of the coat for the cleanest cut. For areas where skin is loose (like the belly or chest), gently stretch the skin flat to avoid nicks.
- Overlap Your Strokes Overlap each pass slightly to avoid clipper lines or uneven patches. If you do leave lines, it can be helpful to clip over in an “X” pattern to blend.
- Check Blades Often Between strokes, brush hair off the blades, spray or oil them, and check their temperature. If they're too hot, let them cool or switch to a spare.
- Finish Up Carefully Use smaller trimmers for delicate areas like the jaw, ears, muzzle, and legs. Take extra care, these areas require more precise clipping.
After Clipping: Cool-Down and Care
After you’re done clipping:
- Remove Loose Hair: Brush your horse thoroughly or bathe him again to remove clipped hair.
- Soothe the Skin: If your horse’s skin is sensitive, consider applying a conditioner or gentle oil to soothe any irritation.
- Check Blades: Clean your clippers, oil the blades, and store them properly. SmartPak’s care guide advises removing the blade, brushing out hair, and lubricating before storage.
Final Thoughts
Body clipping can seem like a big task, but done right, it’s one of the most valuable tools in your horse-care toolkit. It improves cooling, reduces drying time, and can be a big help for horses with metabolic or coat issues. But it's not just about clippers; preparation, planning, and follow-up matter just as much. Having the right tools can make the entire process smoother and more comfortable for both you and your horse.
That’s where TurnoutHQ comes in. THQ connects you with trusted equine brands, body care essentials, and knowledgeable professionals so you can feel confident tackling everything from routine grooming to full-body clips. Whether you’re prepping for winter shows or simply keeping your horse comfortable, THQ helps you find exactly what you need all in one place.